

")
")


")


General tips about the cordelette.
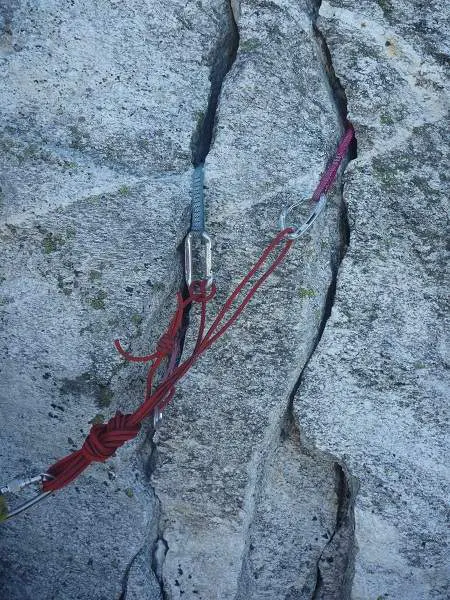
The cordelette is a very important piece of climbing gear but people are not talking about it as much as they should if you ask me. That’s because a simple cordelette can be used to create a very reliable anchor by linking two or more points of protection together. Many climbers use them instead of natural anchors, and most know how to tie one with their eyes closed. However, there are a few less-popular pieces of information about cordelettes that I plan on sharing with you in this little guide.
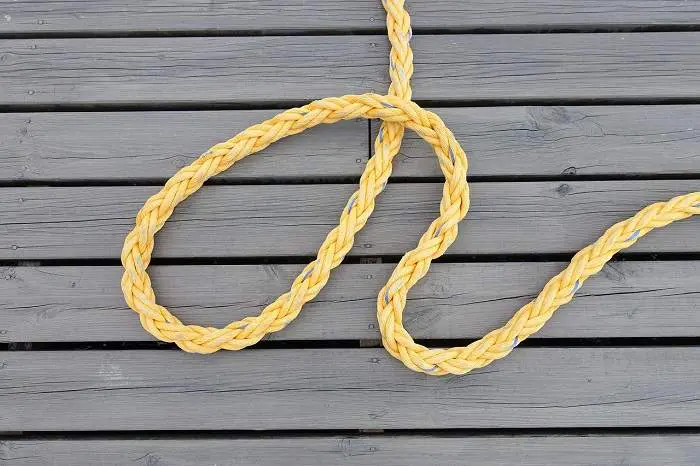
But first, we should establish what is a cordelette and what is the main difference between it and a regular climbing rope. Usually, a cordelette measures about 20 feet in length and 7mm in width, but there can be slight variations to this. It’s more of a convention than a rule, but the strand is generally tied with a 6 mm or 5.5 mm high tech cord. Most climbers use a cordelette in a large loop tied with a double fisherman’s or triple fisherman’s knot.
Therefore, the main difference between a rope and a cordelette is that the cordelette is thinner, it’s made out of cords, and it is generally shorter. For more information about rappelling and climbing ropes, make sure to check out my comprehensive guide.
Apart from being used as a rock climbing anchor, a cordelette has a few other uses that can make your climbing experience safer and more enjoyable. Here are some cordelette tips that I wish I knew when I started out on my climbing journey.
1. How to make a cordelette.
Let’s start with the most obvious tip: making your own cordelette. To start out, you need to get your hands on some high-quality cord that measures around 21 feet in length and 6, 7 or 8mm in thickness. If you plan on going toproping, I would recommend a thicker cord, but a thinner one is more suitable for multi-pitch climbing. Here are the actual steps:
- The first thing you need to do is loop the cord around in order to make the two ends overlap. Overlapping the cord by around 30″ is a great rule of thumb.
- Grab one end of the cord and tie up a double fisherman’s knot around the other end. If you haven’t brushed up on your knots yet, make sure to check out my small guide right here. It will help you out quite a bit.
- If you’re going for a smaller diameter cord or a cord with a slippery sheath, tie up a triple fisherman’s knot instead just to be on the safe side. The end of the knot should have a 1 to 2″ tail coming out of it.
- Tie another double or triple fisherman’s knot on the other end of the cord and make sure it has a 1 to 2″ tail at the end. I hope I don’t need to tell you that both of these knots need to be very tight. As tight as you can make them.
- Pull on the cord until the fisherman’s knots are tight next to each other.
- Tape the tails of your cordelette in order to prevent them from snagging. Also, you could try to mark your cordelette in order to identify it easier while you’re up there. Some colored tape usually does the trick.
2. Loop alternative – the Bunny Ears technique.
One thing that I learned quickly after using my cordelette in the conventional “loop” style is that this doesn’t offer much in the way of versatility. While looking for alternatives, I stumbled upon the “bunny ears” style, which basically involves tying a small loop at each end.
Why is this useful? In this shape, you can make the cordelette reach gear placements that would otherwise be too far apart. Moreover, you can pass the separate ends around a rock block or other natural anchors such as trees.
3. Pick the thickness and length of the cordelette depending on your climbing scenario.
This might come across as a no-brainer, but you don’t have to use the same cordelette for each climbing session. For instance, if you know that you’re going to climb in snowy areas, maybe you should go for a thin 6mm cord that’s between 14 and 16-feet long.
If you climb in rocky areas, a thicker 7mm and 20-foot cord might be the better choice. Always analyze your surroundings carefully before committing to a certain type of cord.
4. Keeping the double fisherman’s knot in a fixed position.
If you’ve done this a while, you might have noticed that keeping the double fisherman’s knot in a proper position can be challenging. It is important to keep a note of its position, though, but how exactly would we go about doing that?
The solution comes in the form of a clove hitch that fixes the knot next to your highest piece of gear while you’re building the anchor. This also makes sure that your main knot is nowhere near your master point for added peace of mind.
5. How to rack your cordelette.
The way I rack my cordelette is relatively straightforward and simple: I fold it in half three times in a row until it shrinks down to a decent size, and then I twist it upwards in order to fix it in place.
What’s important here is to not let go of the tails during the folding process. Moreover, once the cord is twisted upwards, just clip it to a large carabiner. It is now ready to go on our climbing rack.
6. How to get the right length every time.
If you end up with a cordelette that’s either too short or too long, there are some steps that you can take to ensure a proper length each and every time. For instance, if the cord is too short, just add a new sling to the piece of gear that’s the farthest away.
If it’s too long, your first instinct might be to clip the loop to the gear. However, you should try to pass the loop through one of the carabiners instead. This results in four strands of cord that come out of the gear piece instead of the conventional two. Therefore, you’ll end up with an elevated anchor master point.
7. If you have cord to spare, tie a figure 8 at the master point.
Why would you tie a figure 8 instead of an overhand knot at the master point? A figure 8 is known to absorb more fall force than an overhand knot, which makes it better because it sends less fall force to the gear itself. However, like I mentioned above, make sure you have enough cord to tie it properly. Otherwise, just go for the regular overhand.
8. Tidy up the cord loops while tying the master point knot.
There’s a very simple solution to keeping your cord loops tidy while tying the knot: just clip the belay carabiner into the cord before tying the master point knot. If you’re like me and you want your cords to be neatly organized all the time, you’ll adopt this habit and make it second nature.
Afterward, you’ll never be able to work with messy cord loops again.
Conclusion.

The corselette is a highly reliable climbing anchor that has proven its worth time and time again. However, you need to make sure that you follow proper procedures when putting one together, especially when it comes to tying up the knots.
As an alternative, you could always use natural anchors such as trees, but that depends on your environment and climbing scenario. At any rate, I hope that these quick tips have helped you on your climbing journey. I certainly wish I knew them when I first started out.


